Vacuuming your car’s A/C system removes air and moisture. This improves its efficiency and lifespan.
It might sound complicated, but it’s a simple process once you understand the steps. Proper maintenance of your car’s air conditioning system ensures you enjoy cool, clean air while driving. Over time, moisture can build up, affecting the system’s performance.
Vacuuming helps prevent this by creating a dry environment inside the A/C unit. This process involves using a vacuum pump to remove air and moisture. It’s crucial for anyone looking to maintain their car’s A/C system. Regular maintenance can save you from costly repairs. A well-maintained A/C also enhances comfort during long drives. Discover how to vacuum your car’s A/C system efficiently and keep it in top shape.
Introduction To Car A/c Vacuuming
The importance of maintaining your car’s air conditioning system is undeniable. But have you ever considered vacuuming it as part of your routine? Vacuuming your car’s A/C system is a crucial step in ensuring it operates efficiently. This process removes unwanted air and moisture, which can affect the performance and longevity of the system. Let’s dive into why vacuuming is necessary and how it can boost your car’s performance.
Purpose Of Vacuuming
Vacuuming your car’s A/C system is like giving it a fresh start. This process removes air and moisture trapped inside the system. These elements can cause corrosion and reduce the efficiency of your A/C. By vacuuming, you eliminate these threats and prepare the system for a recharge with fresh refrigerant.
You might wonder why air and moisture accumulate in the first place. It’s often due to leaks or improper maintenance. Regular vacuuming helps keep these issues at bay. Think of it as a preventive measure that saves you time and money in the long run.
Benefits For Car Performance
Vacuuming your A/C system directly impacts your car’s performance. A well-maintained A/C system ensures optimal cooling, especially during sweltering summer days. Imagine driving without the discomfort of a poorly functioning air conditioner.
Moreover, vacuuming contributes to better fuel efficiency. A properly functioning A/C system requires less energy, which means your car doesn’t have to work as hard. This small maintenance task can lead to noticeable improvements in your fuel consumption.
Finally, regular vacuuming extends the life of your A/C components. By preventing corrosion and other damage, you avoid costly repairs and replacements. Isn’t it satisfying to know that a simple vacuuming routine can keep your car running smoothly and save you money?
Have you ever neglected your car’s A/C system and faced the consequences? If so, you know the importance of regular maintenance. Vacuuming is an essential part of this routine. Are you ready to give your car’s A/C the attention it deserves?
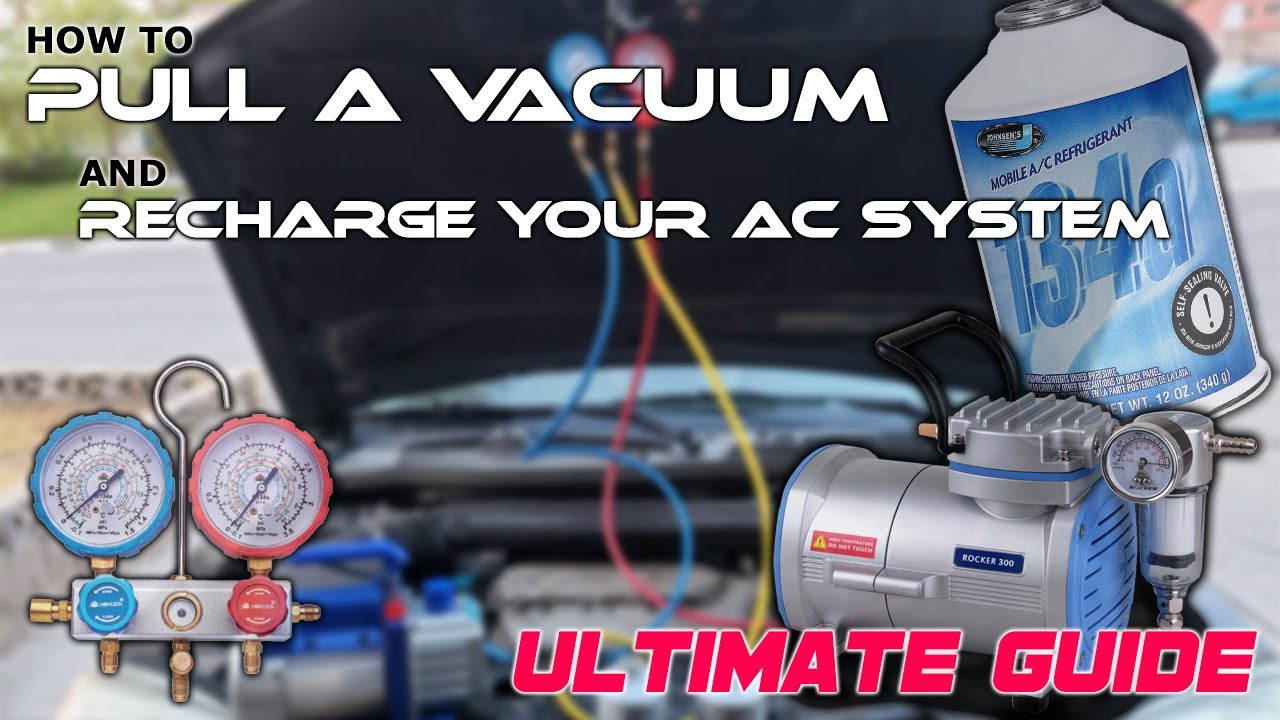
Credit: www.youtube.com
Essential Tools And Equipment
Maintaining your car’s air conditioning system is crucial for comfort. Proper vacuuming ensures optimal performance and extends the lifespan of the system. To vacuum your car’s A/C system efficiently, you need specific tools. Without the right equipment, the process can be challenging. Let’s explore the essential tools required.
Vacuum Pump
A vacuum pump is vital for removing air and moisture from the A/C system. It creates a vacuum by extracting air, ensuring no contaminants remain. This tool ensures the system operates efficiently. Choose a pump with reliable performance and durability. It should have a robust design to withstand frequent use. Always check its specifications before purchasing.
Manifold Gauge Set
The manifold gauge set measures pressure within the A/C system. It provides accurate readings for effective vacuuming. This tool is essential for diagnosing system issues. The gauges help monitor refrigerant levels and ensure proper evacuation. Opt for a set with clear, easy-to-read dials. Make sure it is compatible with your car’s system.
Preparing The Vehicle
Proper preparation is essential before vacuuming a car’s A/C system. Ensure the vehicle is parked safely. Gather necessary tools like gauges, vacuum pump, and safety gear.
Preparing your vehicle before vacuuming the A/C system is crucial for a successful and efficient process. A well-prepared vehicle ensures safety and helps you avoid potential mishaps. Let’s dive into the essential steps to get your car ready for this task.
Safety Precautions
Before you start, prioritize safety. Make sure the vehicle is on a level surface to prevent accidental movement. Engage the parking brake to keep it steady.
Wear safety goggles and gloves. Refrigerant can be harmful if it comes into contact with your skin or eyes.
Ensure the car is off and the keys are removed from the ignition. This prevents accidental activation of the A/C system while you’re working. Have a fire extinguisher nearby just in case.
Identifying A/c Components
Locate the key components of your A/C system. Familiarize yourself with parts like the compressor, condenser, and evaporator. If you’re unsure, your vehicle’s manual can be a handy guide.
Look for the service ports which are typically marked as high and low pressure. These are where you will connect your vacuum pump.
Make sure there are no visible leaks or damage. A quick inspection can save time and prevent further complications.
Have you ever noticed how a small detail can make a big difference? Taking time to prep your vehicle can save you headaches down the road. Are you ready to get started?
Connecting The Manifold Gauges
Vacuuming your car’s A/C system is crucial. It removes moisture and contaminants. This process improves cooling efficiency. One important step is connecting the manifold gauges. These gauges help monitor pressure levels. They ensure the system operates correctly. Proper connection is key to a successful vacuum.
Attaching To Service Ports
Locate the service ports on your car’s A/C system. They are usually near the engine compartment. The high and low-pressure ports have different sizes. This prevents incorrect connections. Attach the blue hose to the low-pressure port. Connect the red hose to the high-pressure port. Ensure they are secure to prevent leaks.
Checking For Leaks
After attaching the hoses, check for leaks. Observe the gauges for pressure changes. A steady reading indicates no leaks. If pressure drops, there might be a leak. Tighten connections if necessary. Leaks can affect the vacuum process. Ensure everything is sealed properly.
Ensuring no leaks is crucial. Leaks can lead to inefficient cooling. They can also damage the A/C system. Always double-check connections. This ensures a smooth vacuuming process.
Operating The Vacuum Pump
Operating the vacuum pump for your car’s A/C is a straightforward yet essential task to ensure optimal performance. It requires precision and attention to detail, but don’t worry—it’s something you can handle with a little patience. Once you have your vacuum pump in hand, you’ll be ready to dive into the specifics of running the pump and monitoring vacuum levels.
Running The Pump
Start by connecting your vacuum pump to the service ports on your car’s A/C system. These are usually marked with different colors for low and high pressure. Make sure the connections are tight, as any leaks can lead to inaccurate readings.
Once connected, power on the vacuum pump. You might feel a bit like a scientist conducting an experiment, but it’s all part of the process. The pump will start removing air and moisture from the system, creating a vacuum.
Let the pump run for about 30 minutes. This duration ensures that all unwanted elements are extracted. Ever felt the satisfaction of watching a vacuum cleaner pick up dirt? This is similar, as you watch your A/C system become cleaner and more efficient.
Monitoring Vacuum Levels
As the pump runs, keep a close eye on the vacuum gauge. This gauge shows you the pressure level inside the A/C system. You want it to read around 29 inches of mercury (Hg) for a complete vacuum.
If the gauge isn’t reaching the desired level, check for leaks in the system. A common oversight is a loose connection at the service ports. Tighten any loose fittings and ensure everything is secure.
Once the vacuum level is stable, you can turn off the pump. Have you ever tried to finish a puzzle only to find a piece missing? Monitoring vacuum levels is akin to ensuring every piece is in place for your A/C to function efficiently.
Remember, precision is key. Are you ready to take on this task? With patience and careful attention, you’ll master the art of vacuuming your car’s A/C and enjoy a cooler ride. Whether you’re a seasoned DIY enthusiast or a beginner, operating the vacuum pump is a skill worth having.
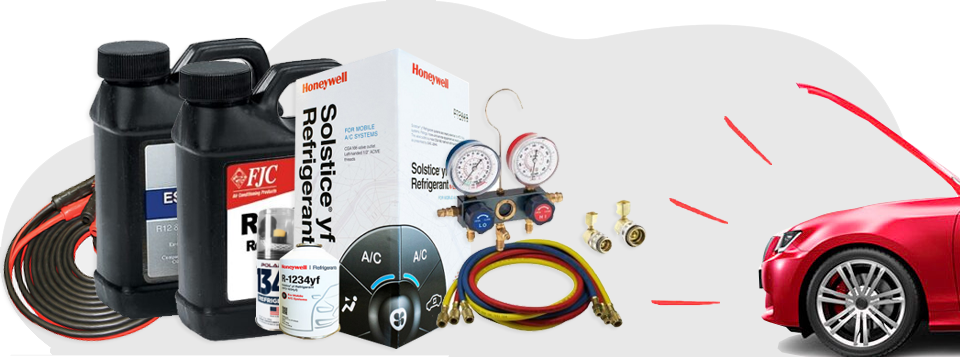
Credit: fjcinc.com
Testing For System Leaks
Testing for leaks in your car’s A/C system is crucial. It ensures proper function and efficiency. Leaks can lead to inefficient cooling. They might also cause damage to the system components. Regular checks help in early detection. This prevents costly repairs later.
Pressure Testing
Pressure testing is a reliable method for detecting leaks. It involves introducing a specific pressure into the system. You then monitor the system for any pressure drops. A stable pressure indicates no leaks. A drop suggests a possible leak. Use a manifold gauge set for this test. Always follow safety precautions during pressure testing.
Identifying Leak Sources
Once a leak is suspected, the next step is identifying its source. Common areas include hoses, connections, and compressor seals. Visual inspection helps in spotting obvious leaks. You may also use a UV dye for better accuracy. Inject the dye into the A/C system. Then, use a UV light to spot the leak. This method is precise and effective.
Recharging The A/c System
Vacuuming the A/C in your car ensures efficient cooling. This process involves removing moisture and air from the system. Proper vacuuming helps maintain optimal performance and prolongs the lifespan of the A/C components.
Recharging the A/C system in your car might sound daunting, but with the right guidance, it’s a task you can master. A well-functioning A/C system keeps you cool on hot days, but more importantly, it ensures your car’s air conditioning runs efficiently. If you’ve already vacuumed the A/C system and are ready to recharge it, let’s dive into the essentials.
###
Selecting The Right Refrigerant
Choosing the correct refrigerant is crucial. Your car’s manual is the best source for identifying the type your vehicle needs. Typically, most modern cars use R-134a, but always double-check to avoid costly errors.
Many auto parts stores sell refrigerants with built-in gauges. These are handy for beginners, providing a visual representation of the pressure levels. Have you ever grabbed the wrong product at the store? Reading labels carefully can save you from returning items later.
###
Proper Charging Techniques
Before you start, ensure your car is parked in a well-ventilated area. Safety first, right? Always wear gloves and goggles to protect yourself from potential leaks.
Attach the refrigerant can to the low-pressure service port. This port is usually located near the compressor or along the larger of the two A/C lines. Follow the instructions on the refrigerant can, as different brands might have varying methods.
While charging, keep the A/C on the highest setting. This ensures the refrigerant circulates throughout the system. As the can empties, check the gauge to ensure you’re filling to the recommended pressure level. Have you ever wondered why it’s crucial to avoid overcharging? Too much refrigerant can damage the system, leading to expensive repairs.
Recharging your car’s A/C system isn’t just about cooling; it’s about maintaining the health of your vehicle. By selecting the right refrigerant and using proper techniques, you ensure a smoother ride and a more comfortable driving experience. Ready to tackle the task and enjoy the cool breeze again?
Final Checks And Maintenance
Conduct final checks to ensure the A/C system is properly vacuumed and free of leaks. Inspect hoses and connections for damage. Regular maintenance keeps your car’s air conditioning running efficiently.
When you’ve vacuumed your car’s A/C system, final checks and regular maintenance can make all the difference in ensuring you get the most out of your cooling system. Just like you wouldn’t leave your home without checking if the doors are locked, you shouldn’t skip these final steps. They safeguard your A/C’s performance and longevity, making your driving experience cool and comfortable.
Ensuring Optimal Performance
After vacuuming, it’s crucial to inspect the A/C system for leaks. A simple soap and water solution can help you spot any escaping air or refrigerant. Detecting leaks early can save you from costly repairs.
Check the A/C compressor belt for wear and tear. A worn belt can lead to inefficient cooling and potential damage. Replace it if you notice any fraying or slack.
Don’t forget to test the A/C system by turning it on and feeling for consistent cool air. If the air isn’t cold, there might be an issue with the refrigerant level or the compressor.
Routine A/c Maintenance Tips
Regularly clean the A/C vents using a small brush or vacuum attachment. Dust and debris can block airflow and affect cooling efficiency.
Consider changing the cabin air filter every year. A clean filter means cleaner air and better performance. It also reduces strain on the A/C system.
Keep an eye on the refrigerant levels. If you notice a decline in cooling, you might need a recharge. Low refrigerant can indicate a leak, so it’s worth investigating further.
Here’s a personal insight: I once skipped checking my A/C system after vacuuming, thinking everything was fine. A few weeks later, I faced an unexpected leak that could have been easily fixed if I had done my final checks.
What about you? Are you giving your car’s A/C system the attention it deserves, or are you unknowingly setting yourself up for expensive surprises? Taking a moment to perform these checks and routine maintenance can save you both time and money.
Troubleshooting Common Issues
Dealing with car A/C issues can be frustrating. Sometimes, even after a thorough vacuuming, problems persist. Understanding these common issues helps in maintaining your car’s A/C system efficiently. Let’s delve into some frequent problems and how to troubleshoot them effectively.
Inconsistent Cooling
Inconsistent cooling can make drives uncomfortable. Check the refrigerant levels first. Low levels often cause uneven cooling. Recharge the system if needed. Inspect the A/C compressor for any signs of wear. A failing compressor may not circulate refrigerant properly. Ensure all vents are open and unobstructed. Blocked vents restrict airflow and affect cooling.
Unusual Noises
Strange noises from your A/C can signal trouble. Listen for hissing or rattling sounds. Hissing often indicates a refrigerant leak. Look for any visible leaks in the system. Rattling sounds might point to loose parts. Check the A/C belt for wear or damage. Replace it if necessary. Tighten any loose components you find. Persistent noises may require professional inspection. Addressing these issues early prevents further damage.
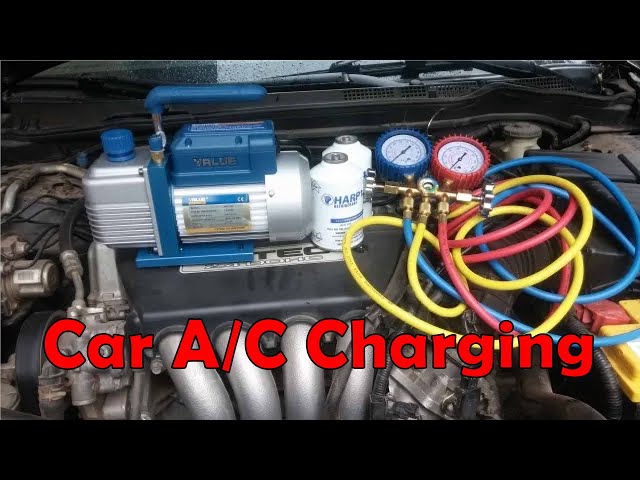
Credit: www.youtube.com
Conclusion And Safety Reminders
Ensure the vacuum pump is turned off before disconnecting. Wear safety goggles to protect eyes from refrigerant. Always work in a well-ventilated area to avoid inhaling harmful substances.
As you wrap up your DIY project of vacuuming your car’s A/C, it’s important to take a moment to ensure you’ve done everything correctly and safely. Proper maintenance of your car’s air conditioning system not only improves your driving comfort but also extends the system’s life. Let’s revisit the key steps and highlight some safety reminders to keep in mind for future endeavors.
Recap Of Key Steps
To effectively vacuum your car’s A/C, you started by gathering the necessary tools, like a vacuum pump and manifold gauge set. You then located the low-pressure port on your A/C system and connected the necessary equipment.
Next, you ran the vacuum pump to remove air and moisture from the system. This crucial step ensures that your A/C operates efficiently and prevents costly damage.
Finally, after achieving the desired vacuum level, you turned off the pump and disconnected the equipment, readying your system for a recharge. Each step is simple yet vital for maintaining your car’s A/C.
Safety Tips For Future
Always ensure you’re working in a well-ventilated area to avoid inhaling any harmful fumes. It’s a small step that makes a big difference in your safety.
Use protective gear, such as gloves and safety glasses, to protect yourself from refrigerant exposure. This might seem like a hassle, but it can prevent serious injuries.
Double-check all connections before starting the vacuum pump to avoid leaks. A secure setup not only ensures your safety but also enhances the efficiency of your work.
Have you ever thought about what could happen if you skip these safety steps? It’s worth considering the potential risks. Keeping these tips in mind will ensure you enjoy a cool and safe ride for many miles to come.
Frequently Asked Questions
Do I Need To Vacuum My Ac System In My Car?
Yes, vacuuming your car’s AC system is essential. It removes moisture and air, ensuring optimal performance. Regular maintenance helps in preventing damage and prolongs the system’s lifespan. Always use proper equipment or consult a professional for the best results.
How To Get Air Out Of Ac System In Car?
Turn off the engine and locate the air conditioning service valves. Attach a vacuum pump to the low-pressure valve. Run the pump for 15-30 minutes to remove air. Close the valve, detach the pump, and recharge the system with refrigerant as needed.
How Do You Vacuum A Car Ac Without A Vacuum Pump?
Use a vacuum cleaner with a hose attachment to extract air. Connect it to the low-pressure AC port. Ensure a tight seal to effectively remove air and moisture. Regularly monitor pressure levels using a gauge. Always follow safety protocols to prevent damage.
How Long Should You Pull A Vacuum On A Car Ac System?
Pull a vacuum on a car AC system for 30 to 45 minutes. This removes moisture and air, ensuring proper function. Ensure the system holds the vacuum for 15 minutes to check for leaks.
Conclusion
Vacuuming your car’s A/C system is essential. It keeps the air fresh. Follow these steps for a smoother process. First, gather your tools. Second, locate the A/C service ports. Next, connect the vacuum pump. Remove moisture and air from the system.
Always check for leaks. Regular maintenance boosts efficiency. It also extends the life of your A/C. You save on repair costs. Enjoy a cooler ride. Remember, practice makes perfect. Keep your car in top shape. Drive comfortably in any weather.
Your efforts bring great rewards. Happy driving!